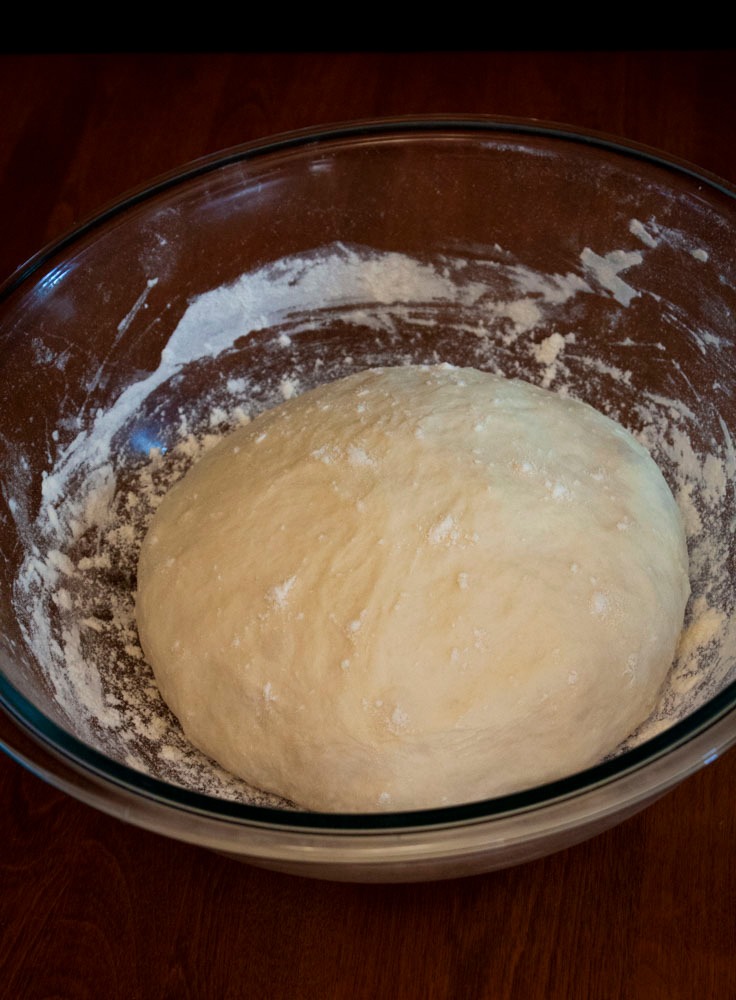
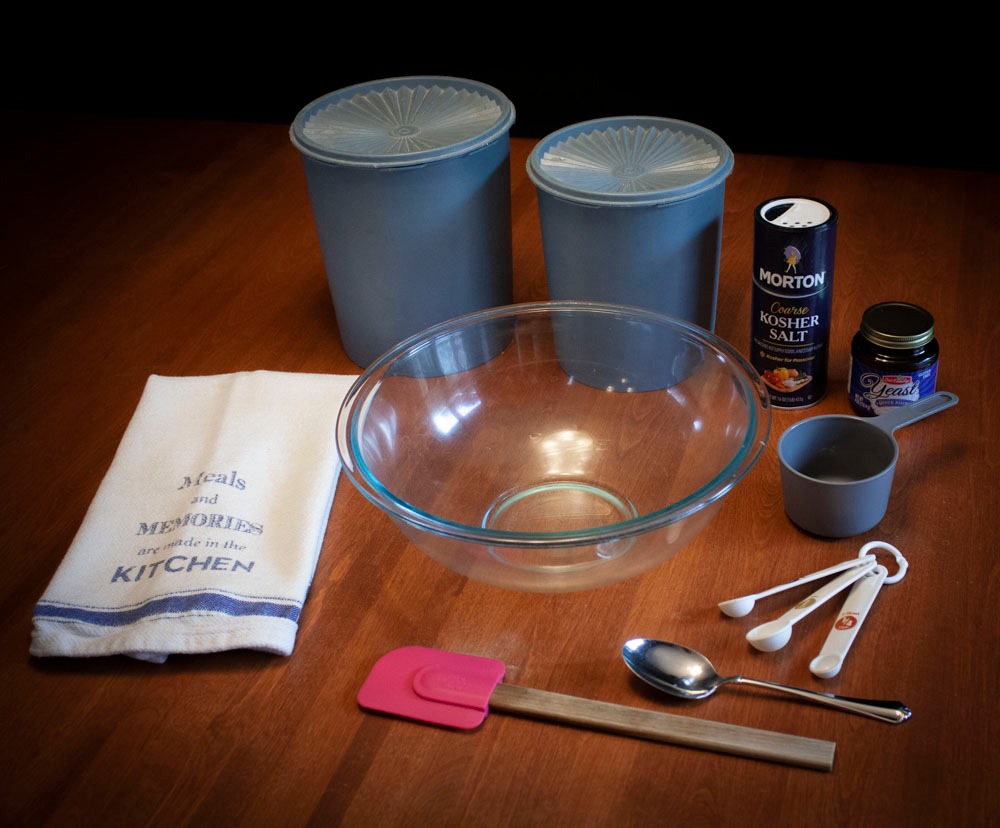
1 1/2 teaspoons instant yeast (9 grams)
1/2 teaspoon sugar (4 grams) (use honey if you prefer)
1 1/4 cups warm water (300 grams)
1 1/2 teaspoons (10 grams) kosher salt
2 1/2 to 3 1/2 cups All-Purpose Flour (360 grams) plus extra for dusting
PREHEAT THE OVEN TO 450 DEGREES
While bread is rising, place an empty dutch oven
(with the lid on) in the oven and heat to 450 degrees.
Yes – double everything except the yeast in this recipe for best results. After the first rise, divide the dough in half and form two loaves (our preference) or form one large loaf. If you bake a large loaf, you will likely need to extend the bake time and it may not cook quite as evenly – just keep an eye on it and use your best judgment!
A good rule of thumb is “warm to the touch.” Too-hot water (typically 130-140 degrees F and above) will kill your yeast, but use too-cold water and your yeast will take too long to activate. We typically use water that’s between 95 and 110 degrees Fahrenheit for our Instant Yeast. You should be able to comfortably hold your hand under water running at about 100 degrees – it should feel warm, but not hot. Use a kitchen thermometer for a precise measurement if you like!
Every brand of salt will perform a little differently. If you’re using Morton Kosher Salt, 1 1/2 teaspoons (9g) is usually plenty. If you’re using Diamond Crystal Kosher Salt, you may want to use 2 teaspoons (10-12g) since it’s significantly lighter/less salty than other brands. If you’re using table salt, you’ll typically be fine sticking to 1 1/2 teaspoons (9g), but if you prefer less salt in your food, you can dial it back to 1 teaspoon.
We recommend using a 4- to 6-Quart Dutch oven. We have tested our artisan crusty bread recipes in Le Creuset, Lodge, Staub, and Marquette Castings Dutch ovens. All work well! Le Creuset and Staub are generally our favorite brands – they do a great job of controlling and evenly distributing heat, and are especially easy to clean. Lodge and Marquette Castings also work well (though if you’re used to a Le Creuset, you may notice some differences) and are perfect if you’re looking for a budget-friendly option.
Definitely! A large heavy bottom pot with lid is an easy substitute.
After extensive testing, we recommend King Arthur All Purpose Flour or Bob’s Red Mill All Purpose Flour. If you have bread flour and would like to use it, you certainly can! But it’s not necessary. If you don’t have Bob’s or King Arthur, use whatever All Purpose Flour you have on hand (but add one of those brands to your list for next time – you’ll notice a difference!) The only flour we do NOT recommend is Pillsbury – it was consistently the toughest flour to work with in our testing and always created a dough that tore rather than stretched (which we don’t want!)
Yes! Check out our Roasted Garlic & Rosemary Crusty Bread or our Easy Crusty Asiago Bread for a few of our favorite flavors. Add fresh or dried herbs, spices, roasted garlic, nuts, or dried fruit to the dough when you mix it. For anything that may release more moisture – fresh fruit, olives, etc. – we recommend folding it in as you shape the bread. Pull the dough into a large circle, spread an even layer of mix-ins across it, then fold dough into the center as directed and repeat until you’ve added all of the mix-ins.
Typically, this happens when we haven’t built enough strength into the dough before baking. Because this is a relatively quick bread recipe, we lose out on the strength that builds while gluten networks develop over a long rise – so we build strength into the dough by folding it over on itself many times during shaping. If your loaf isn’t as tall as you’d like, first be sure to thoroughly mix the dough so that no dry bits of flour remain. You may also want to knead the dough a few times by hand (you can do this right in the mixing bowl) or let your mixer run an extra minute or two with the dough hook attachment. Next, while the dough does its first rise, you can perform one set of “stretch and folds” at the half hour mark to increase strength. Finally, when shaping the dough, be sure to fold the dough over on itself several times until the dough feels tight and begins to resist your folding. Keep in mind that because this bread is made on a quick timeline, it won’t typically rise as high as a hearty sourdough loaf or other bread that has had hours or even days to proof.
Honestly, when we wrote this recipe we chose to use flour to keep the dough from sticking just because we wanted to call for as few ingredients as possible. No, you don’t necessarily have to use flour to prevent sticking. You can transfer the mixed dough to a lightly oiled bowl for its first rise if you like! Some bakers do benefit from that extra flour because it makes this slack dough a little easier to work with when it’s time to fold. We actually don’t do ANYTHING to prevent sticking – we just let the dough rise right in the mixing bowl and then run our hands under cold water to coax the dough out without sticking when it’s time to tip the dough onto the cutting board. There’s no perfect or “right” way here – just pick your favorite method and run with it!
Store half-loaves cut-side down on a cutting board on the counter for up to 24 hours (no need to cover!) to keep the crust crispy and the interior moist. Store sliced bread in an airtight container in the freezer for 3-4 months (toast it as needed!) or in an airtight container on the counter for 3-4 days. Freeze a full loaf by wrapping the bread in plastic wrap and popping into the freezer for 3-4 months, then defrost on the counter for a few hours when you’re ready to eat.
Built with Mobirise web page templates